The first time you run Vimarun after installing, you are welcomed to the following screen: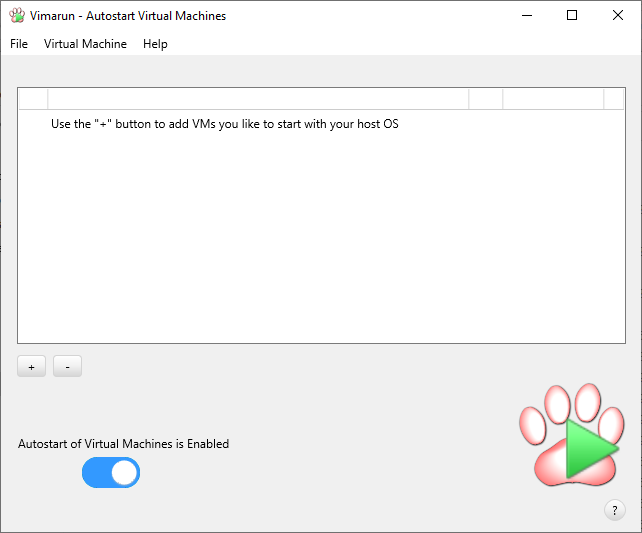
No virtual machine has been configured to start with Windows yet.
You can add a new virtual machine by clicking on the “+” button beneath the list. This will then show you the list of virtual machines that are currently registered within your VMware Workstation or Player.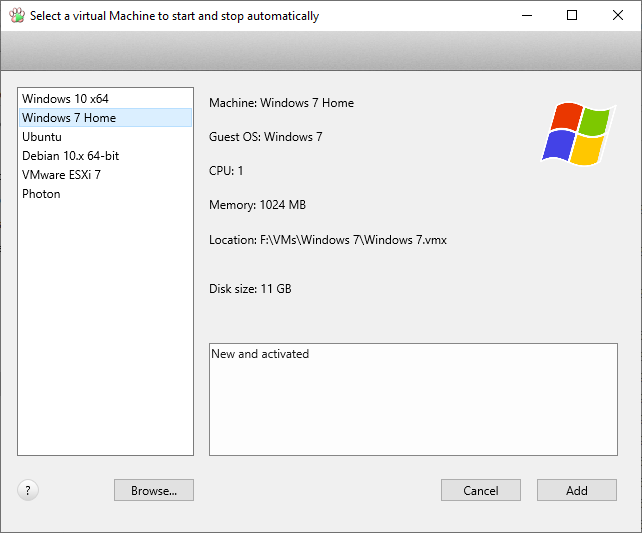
We are going to select the Windows 7 virtual machine. Make it active in the list on the left and click “Add”.
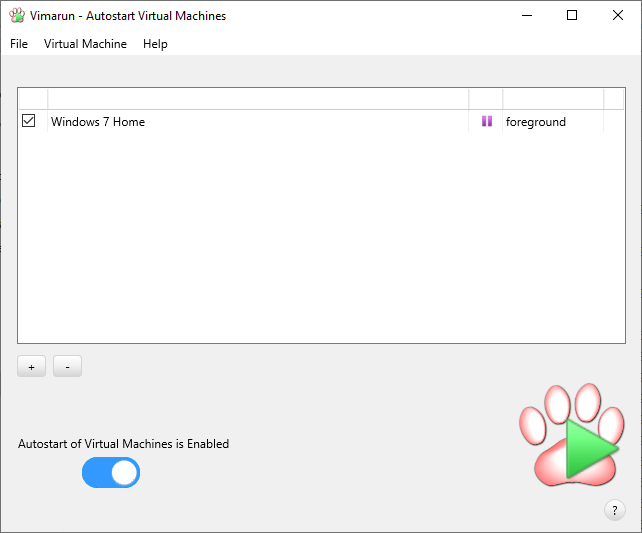
That’s basically all you have to do so that your Windows 7 VM will now start and suspend along with your host.
You don’t even have to keep the Vimarun program running, the background Windows service will take care of your virtual machine(s).
Let’s explain the functionality of the configuration screen.
You can see here that the Windows 7 VM is suspended at this moment via the ![]() icon. In that column you can see the current running state of the VM. The column after that allows you to change how the VM runs on startup of your host.
icon. In that column you can see the current running state of the VM. The column after that allows you to change how the VM runs on startup of your host.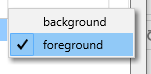
By default the selected VM will run on the foreground. This means that once you login, the VM will popup on your screen. If you prefer to run the VM in the background then there will be no graphical user interface until you shutdown or suspend the VM and restart it.
The other options on this screen are:
- You can add more than one VM by clicking on the “+” button again.
- You can remove a VM by selecting the VM and click the “-” button.
- The order in which VMs are start and suspended is the order in which the VMs are listed.
- You can remove the check in front of a VM in order to temporarily not have that VM participate in the start/suspend sequence.
- You can disable ALL autostart/suspend actions by sliding the big blue button to the OFF position.